How I learned vim
The internet says that using Vim will make you more efficient. I want to believe. I have that stubburn kind of programmer masochism that drives me to learn left-field or obscure tools and tech. I’ve seen a few screen-casts with people making vim seem easy but it was this essay from Yahuda Katz (of jQuery, Rails and Ember.js) sold me on it.
I’ve been learning Vim on and off for a while now. It’s not become my editor for day-to-day work yet. I feel like a concerted effort, say, using only vim to write code for a pet project I want to get finished will tip me over the edge. This post is a record of the resources I used to help me learn and become productive with it.
Hello vim
Open a terminal window and type vim. You’ll see an obscure looking, largely empty page.

Notice that you can’t immediately type anything into the buffer and the arrow keys don’t do anything. Several of the other terminal editors give you hints about important keyboard shortcuts along the bottom of the screen (a la nano and pico). In fact, even now I’m not sure how I did anything useful from this first screen.
Vim has two modes: normal and insert. I think “normal” might more rightly be called “command” mode, but it’s not labelled and you spend a lot of time in this mode so I suspect it is “normal”. In “normal/command” mode, the keyboard becomes the control interface, providing relatively quick access to all of vim’s functions. Over time you learns more and more commands & shortcuts. The minimalism of the interface and brevity of the commands (e.g. type ‘dd’ to delete a line) are the key to that “efficiency” vim enthrusiasts speak of.
You use “insert” mode to manually add text to the buffer. Insert mode, on a Mac terminal session at least, is denoted by -- INSERT -- in the bottom-left corner of the screen. From normal mode (where you begin), type “i” to enter insert mode; hit “esc” to leave.
Baby steps
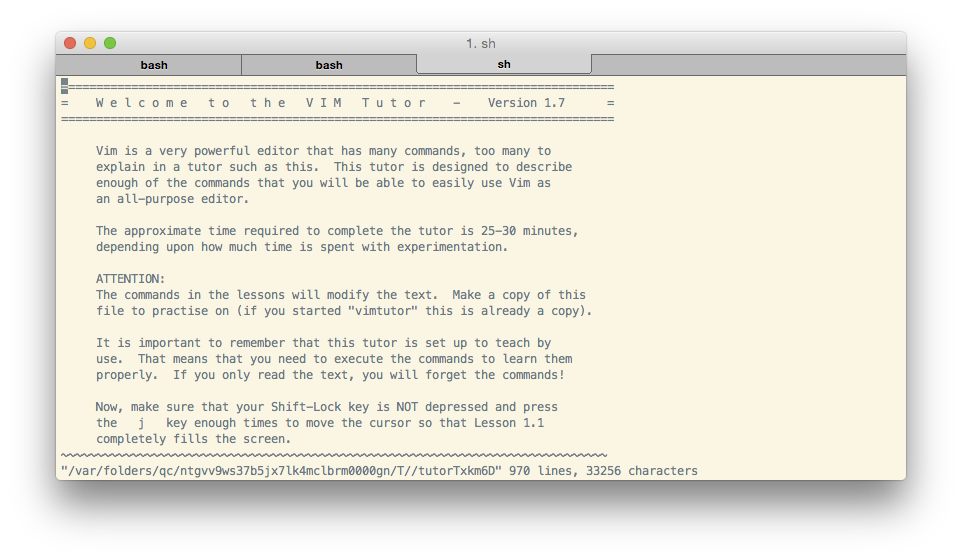
The next step was to go through the vimtutor app. Open up a terminal and type vimtutor. You’ll get a screen of instructions that turn into a really useful tutorial on basic vim usage: navigating lines and documents, finding, replacing text and the like.
The basic navigation, save, exit and simple editing tools are enough to get going with.
Becoming productive
Despite not yet being a master at these basics, I started to feel I was missing some more powerful features. Most notable was a way to open files using a fuzzy-search tool. My model for this was the CMD+P “open fuzzy search” dialog from Sublime Text. Loose searching on the subject brought me to the Janus Collection. I installed it (and also the MacVim “GUI” edition of vim. I didn’t like either of these. They both did too many things I didn’t understand, too quickly. It was like being presented with an entirely new editor with all the “fear” of vim magnified. It wasn’t immediately obvious how to uninstall Janus, because I’m lazy and didn’t read its install script. I found a wonderfully elegent pure-command-line solution. This removed all of Janus, but left “~/.vimrc” as a symbolic link to the copy of “.vimrc” Janus creates. rm ~/.vimrc solved that.
Next, somehow, I found this article by the ever-intersting @mislav, which talks about a bare-bones, bottom-up, as-you-need it approach to learning vim and its options and plug-ins. It begins with some decent options that one might want as default settings and encourages the reader to grow from there.
Inspired, I began updating this log with what I’d leared. Doing that showed up some features I felt I needed to know:
- undo: u
- redo: CTRL-R (and many related commands)
- cut’n’paste
- syntax-specific rules, which in turn lead me to autocommands
- word wrapping
- joining lines